

You paint the living room on Saturday, close the windows, and feel pleased with the smooth color. On Monday, the wall shows roller lines near the sofa, the trim has drips, and the new exterior color has started peeling around the porch. The paint was not necessarily bad. The job failed because the surface, timing, sheen, or application method did not match the project.
Most painting losses come in two forms: money spent twice and time spent fixing work that should have lasted years. The safest order is simple: inspect the surface, repair it, clean it, choose the right coating, then apply thin, even coats during a suitable weather window. The paint can matters, but preparation usually matters more. This guide breaks down the mistakes that create the highest repair bills, the steps that prevent them, and the few premium products that can justify their higher price.
The Short Verdict: Prep Beats Premium Paint
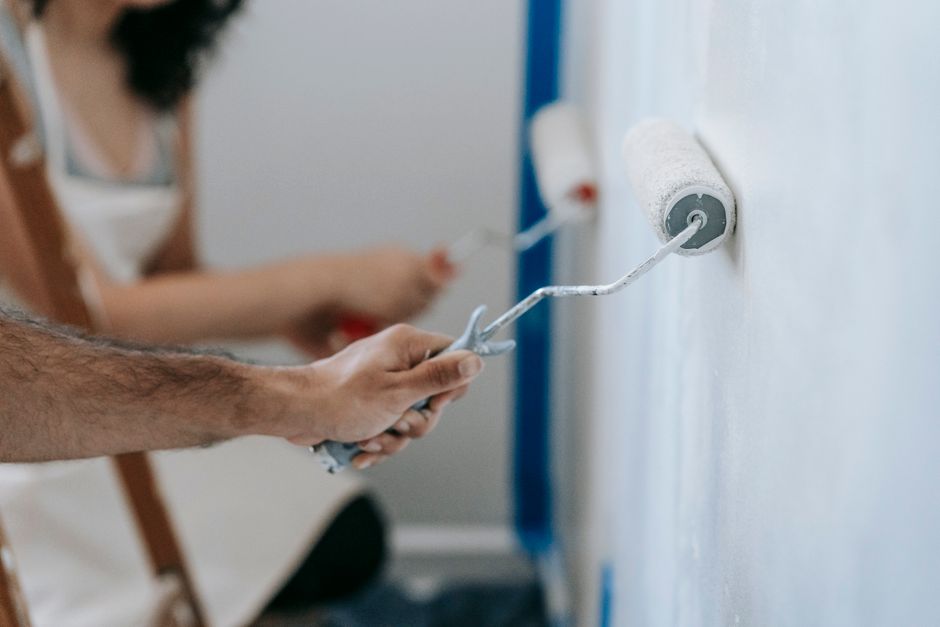
A premium paint applied over chalk, grease, mildew, loose paint, or damp wood will fail sooner than a mid-priced paint applied to a clean, sound surface, so preparation deserves the first share of the budget; the coating then has one job: form a flexible film that bonds to the substrate and resists the moisture, sunlight, cleaning, or impact that the room or exterior receives. Inside, that means removing hand oils near doors, sanding glossy patches, filling nail holes, and sealing stains before the finish coat; outside, it means scraping loose paint, treating mildew, repairing failed caulk, and waiting for the siding, trim, stucco, or masonry to dry. The common mistake is to treat the can as the solution, but paint cannot stabilize rotten wood, stop a roof leak, or bridge an active crack; it only covers those problems until they return through the new film. Verdict: when forced to choose between a better brand and better preparation, choose preparation, then buy a coating matched to the surface and exposure; that order produces the most reliable finish per dollar, and it gives even an ordinary paint a fair chance to perform.
Bottom Line: the right sequence is surface first, product second, technique third. Reversing that sequence creates the familiar cycle of peeling, patching, and repainting.
How to Prep Interior Walls Before Painting
Start with a surface test
Run your hand across the wall. If it feels dusty, oily, powdery, or unusually smooth, the paint needs preparation. Press a strip of painter’s tape onto an inconspicuous area and pull it away. If flakes or a sheet of old coating come off, stop painting and remove the loose material. A new coat cannot create a stable base under failing paint.
Look for water stains, gray or black mildew, recurring hairline cracks, and soft drywall. A stain near a ceiling may point to a plumbing or roof problem rather than a paint problem. Fix the source before sealing the mark. For small nail holes, press patch compound into the hole, let it dry, sand it flush, and wipe away the dust. For larger damaged areas, cut away loose paper and rebuild the surface in thin layers instead of applying one thick lump.
Clean, dull, and seal
Wash walls in kitchens, hallways, bathrooms, and rooms with a wood stove. Use a mild detergent solution, rinse with clean water, and allow the wall to dry. Do not saturate drywall. Sand glossy enamel with 120- to 180-grit paper until the shine is gone, then vacuum and wipe the dust with a clean, damp cloth.
Use stain-blocking primer where water marks, smoke, crayon, tannin, or dark colors can bleed through. Spot-priming is efficient for isolated repairs, but a full primer coat makes more sense when the wall has many patches or when the new color is much lighter. Primer is not a magic eraser; greasy or loose surfaces still need cleaning and scraping.
Apply the finish in a controlled order
Cut in the edges first, but keep the wet edge short enough to roll into before it dries. Work in sections about 3 feet wide. Load the roller evenly, spread the paint in a loose W pattern, then finish with light strokes in one direction. Do not keep rolling a section after it starts to tack up. That creates texture and dull bands.
For most living rooms, a washable eggshell or satin finish offers a better balance than flat paint. Flat paint hides minor wall flaws but marks more easily. Semi-gloss belongs on trim, doors, and high-moisture areas where cleaning matters more than glare. The verdict is clear: a clean, lightly sanded, properly sealed wall gives the finish coat a better chance than a premium label applied directly to an unprepared wall.
How to Paint Exterior Surfaces Without Peeling
Use the weather window, not the calendar
- Check the forecast. Choose a dry period with no rain expected during the product’s cure window. Avoid painting in direct, intense sun if the surface is hot enough to make the coating dry before it levels.
- Measure the surface temperature. Many exterior coatings have a minimum application temperature near 35°F, while some require warmer conditions. Read the specific label instead of assuming all latex paint behaves the same way.
- Wash and dry the surface. Remove dirt, chalk, algae, and mildew. Allow wood, stucco, masonry, and siding to dry completely. Trapped moisture is a common cause of blistering.
- Scrape and sand loose paint. Feather the edges of remaining paint so the repair does not create a hard ridge. Collect dust and chips safely, especially on older homes where lead paint may be present.
- Repair before coating. Replace rotten wood, fill exterior cracks with the correct patch material, and recaulk open joints around windows and doors. Do not use interior spackle outdoors.
- Use the right number of coats. One-coat claims can have color and surface limits. Dark colors, repaired areas, bare wood, and major color changes often need primer or a second finish coat.
Match the coating to the substrate
Wood expands and contracts, vinyl moves with temperature, masonry holds moisture, and metal can rust under a damaged film. Those surfaces need different preparation and sometimes different primers. Do not paint a horizontal deck or porch floor with ordinary wall paint. Foot traffic demands a floor coating designed for abrasion.
Keep the verdict practical: for exterior work, a dry and stable substrate is more important than finishing one weekend sooner. Delay the job if rain, heavy dew, freezing temperatures, or wet wood will undermine the bond.
Paint Mistakes Readers Ask About
Can one coat cover every wall?
No. One coat may work over a similar, well-sealed color on a smooth surface, but patched drywall, deep colors, bare areas, and strong color changes often need primer plus one or two finish coats. A second coat is not automatically a sign that the paint failed. It may be the correct film thickness for the surface.
Why does exterior paint peel after a few months?
The usual causes are moisture, chalk, loose old paint, poor caulk, painting below the label temperature, or applying a coating before the surface dried. Peeling near windows and rooflines deserves extra attention because it may point to water entering behind the siding or trim. Scrape only what is loose, repair the moisture source, and rebuild the surface before repainting.
When should a homeowner stop and hire a professional?
Hire help for high ladders, extensive rot, widespread lead-paint risk, major water damage, or large masonry repairs. A professional is also sensible when the exterior finish is failing across several elevations and the cause is unclear. For an ordinary room, careful cleaning, patching, sanding, and controlled rolling are usually enough.
The specific recommendation is to spend the first dollars on surface inspection and preparation, then select the lowest-priced coating that fits the exposure and finish you need. For a sound interior wall, Benjamin Moore Aura is the premium choice; for a prepared exterior, Sherwin-Williams Duration is the stronger durability pick; for a tighter exterior budget, BEHR MARQUEE is the value choice when its coverage conditions fit the project. That sequence prevents the most expensive paint mistake of all: paying for a new finish before fixing the surface beneath it.